| Both my two sons have moved out and started there own life's
and families. So the wife an I had some spare room in the house. |
|
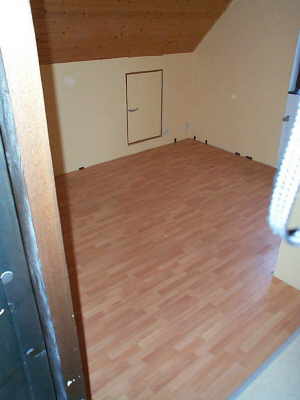 |
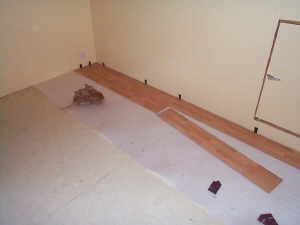
And the boss (read Wife) decide that we needed to get a
Guest room. So Henriks room was converted into a Guest room. And with the
help of some hardware from Ikea, we started to convert the room. |
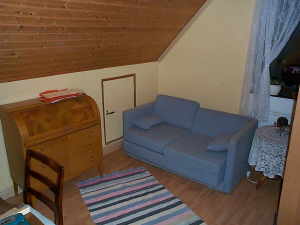
| This is how it ended up. |
 |
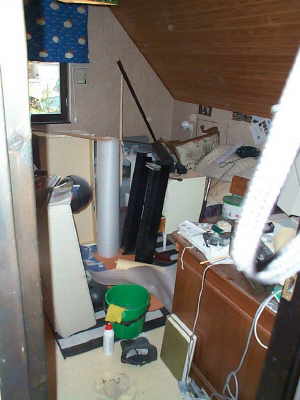 |
The other room had become an instant storage of old stuff. |
| But with some more work, and some IKEA hardware it was
turned into an boy room. |
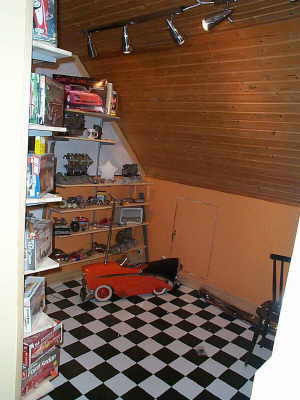 |
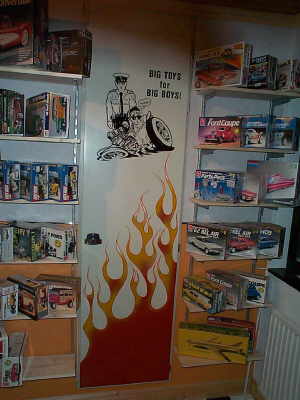 |
And its a Big Boy room ;-) |
| Check out the nifty wardrobe door handle. |
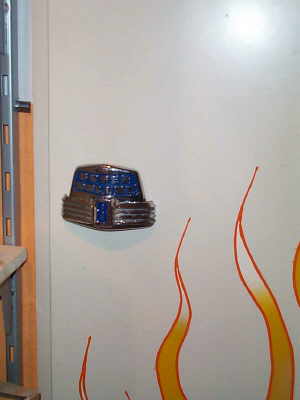 |
 |
Ikea supplied the shelves. So i could put up old the gold that i collected
and kept inside the wardrobe. |
| More gold. |
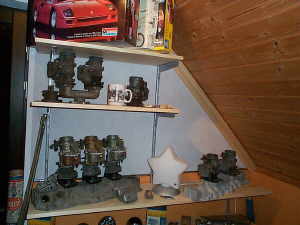 |
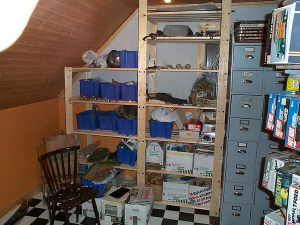 |
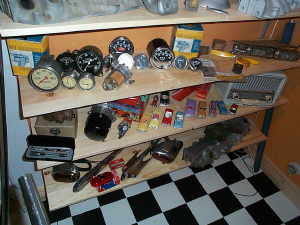
There was also space for some bigger shelves, for the nice to have
car parts. That is to nice to have in the garage. But will end up on the
42 someday. The Cabinet is for car magazines. |
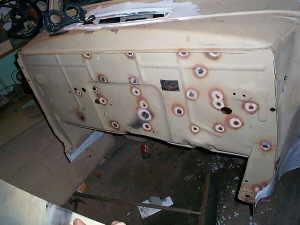
| After this job, finally there was some Ford time. I started with welding
a zillion holes in the firewall. |
 |
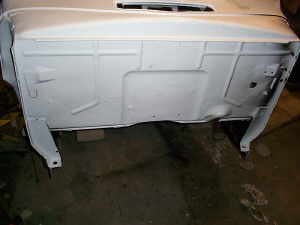
|
And then put on some primer. |
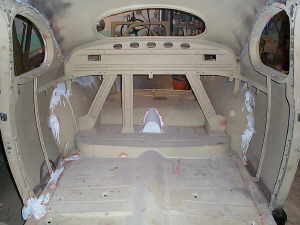
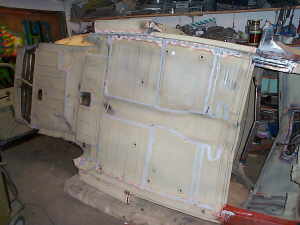
| After that it was time to clean up the inside. |
 |
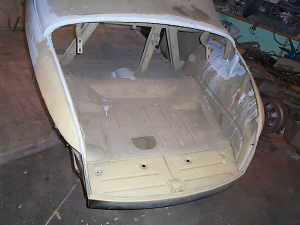 |
The plan is to sand down the body, put on primer and then a cover layer
of matte black paint. I wont do any work to get it smooth. At least not
this time. I will drive it for a year or to and then get a nice interior
and shiny exterior. |
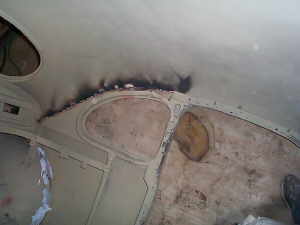
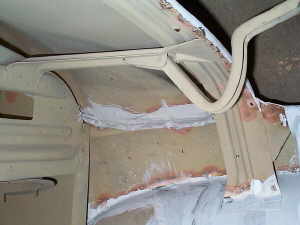
| Since i replaced the drip rails i had to seal up the gaps, that resulted
from that work. |
 |
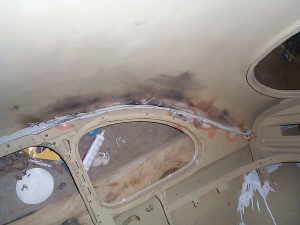 |
I used some "body" sealant that is non hardening and supposed to keep
everything water tight. |
| This is similar to what Henry's boys did when the car was new,
so i think it will work out OK. |
 |
 |
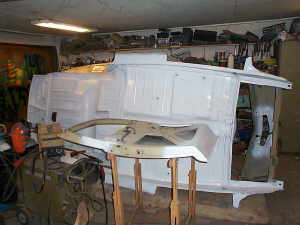
With the inside ready to go, it was time to fix the underside of the
floor pan. I used same sealant for all the weld "gaps" |
| Then it was primer time. |
 |
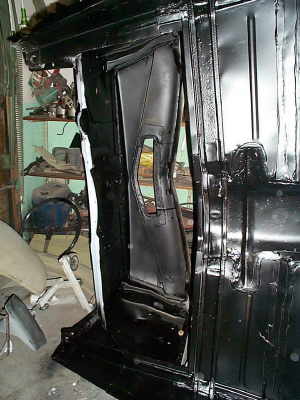 |
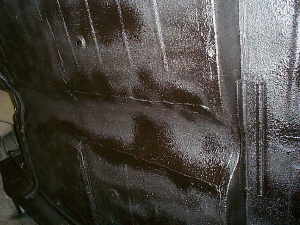
After the primer i put on some matte black paint. |
| After the matte black i put on a Bitumen based rocker panel "paint" |
 |
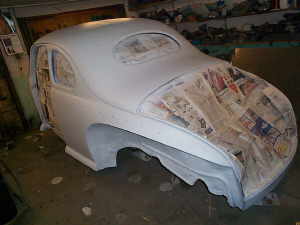 |
Then it was time for the flip side. |
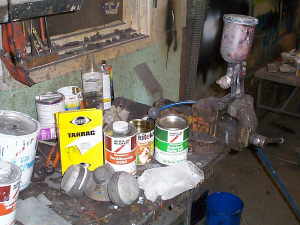
| This is the material used. Its good to use an respirator since it keeps
your head clear, and i guess your healthy to. |
 |
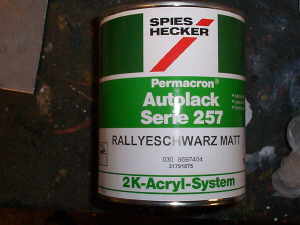 |
This is the matte black paint i used, i think it was used on seventies
Opel Rally Kadett hoods. |
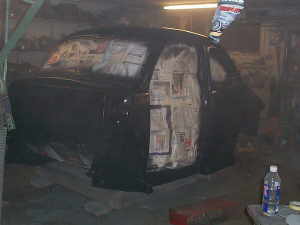
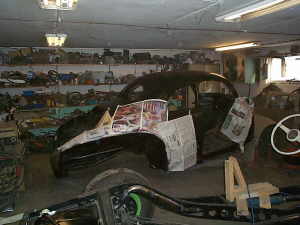
| Paint is fresh and still shiny. I know its supposed to be bad to use
newspapers, but iv used that for twenty years and it works ok for me. And
all work is done in the my garage, and i don't have problem with dust. Just
wipe it down with a Tack rag before spraying on the primer or paint. Of
course its nice to wipe of the floor before you start. |
 |
 |
After the paint had dried, i masked the fender wells, and put on
some more Rocker panel stuff. this gives a thick stone resistance surface.
|
|
This is what happens when you mount the exhaust system before you
mount the body. Learning by mistake :-)
|
 |
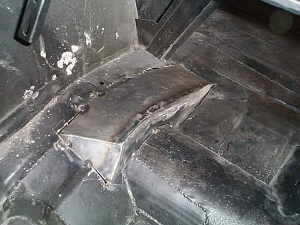 |
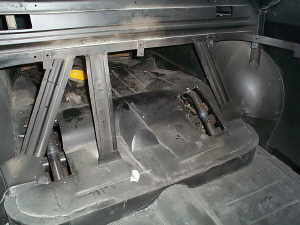
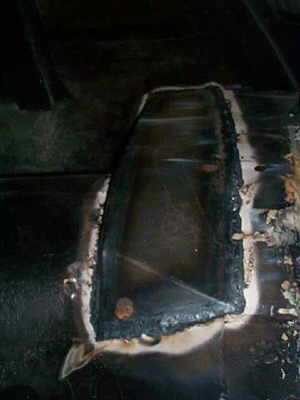
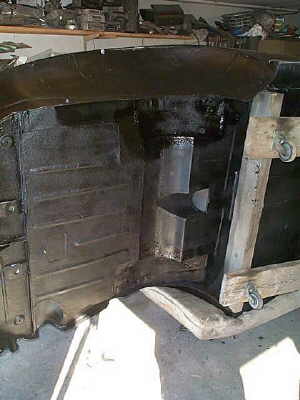
So i made some more bulges in the floor, and since it was in the rear
compartment, i decided to do it like this. |
| All welded up. |
 |
 |
Then i had to lift of the body again, and paint and put on the "Rocker
panel" paint. |
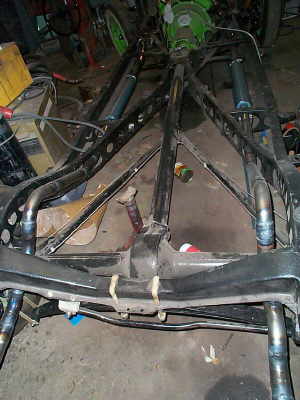
| This is how the exhaust system looks, two short Smittys mufflers, do
some muffler work. Not much i must admit. But i will decide what to do
after I have driven it a couple of miles. |
 |
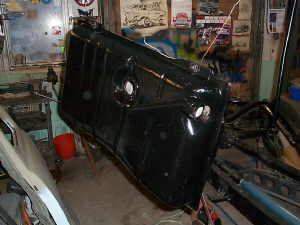 |
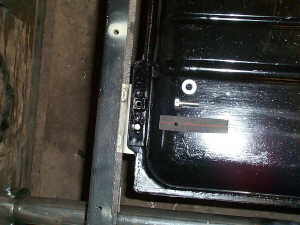
Here is the tank painted.Bougt this on a swap some years ago, and its
like new on the inside. So no problem with rust. |
| I put some padding (tie strap type) between the tank and the chassie
mounts. And locked the bolt with some wire. |
 |
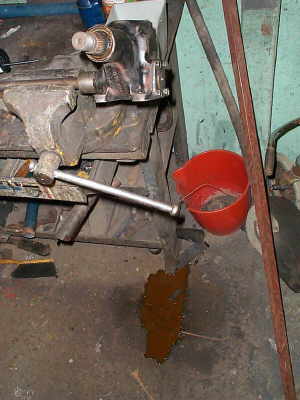 |
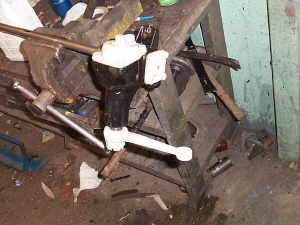
The red spot on the floor was the result after leaving the steering
box in the wise over the night! I had planned to just repaint it. but i
guess that was out of the question. |
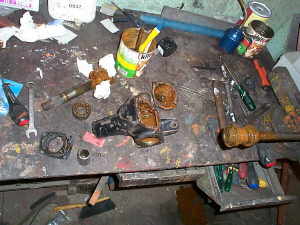
| After some dismantling i found out that the box was filled with water! |
 |
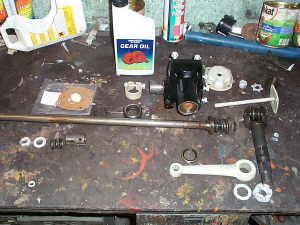 |
But fortunately after some cleaning up, i could assembly everything
again. I guess the oil had preserved all metal parts. I only needed to
get a new seal, since the old one had hardened. |
| Looking good and ready for some more work on the road. By the way i
also straightened the steering arm, since the tie rod rubbed the oilcan.
This a result of my lowering work, but now it clears again. |
 |
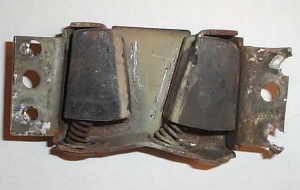 |
Check out this someone goofed on the production line back in 42. The
right part is mounted backwards, but apparently it has done its work anyway.
and yes i know i goofed when i removed this part, since its easy to change
the parts without doing all this work ;-) Learning by doing. |
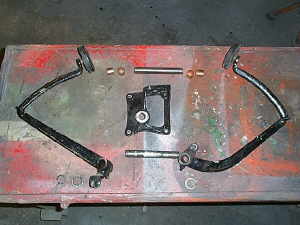
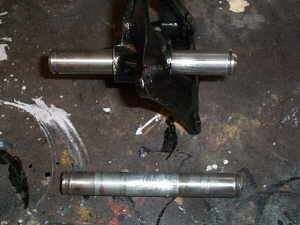
| Then it was time to fix the pedals, the new parts is on the top. |
 |
 |
After pushing out the worn out steel rod. i mounted the new one. Making
sure it was mounted centrally again. |
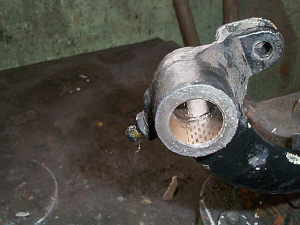
| Her you can see the worn out bushing, the pedals where really sloppy. |
 |
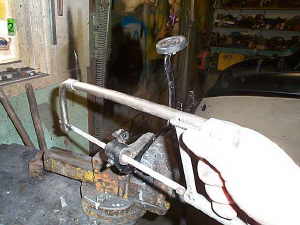 |
I used the saw to carefully cut trough the old bushing's. |
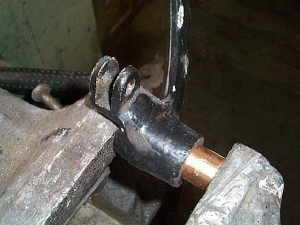
| The i pressed in the new bushing's. Number one |
 |
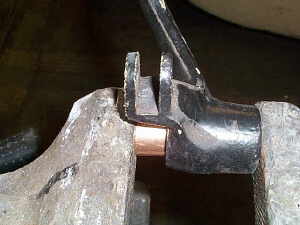 |
And number two I had to do some reaming to get it to fit again. I'm not
sure you supposed to do this but i had to anyway.. |
| This is how the new part look. |
 |
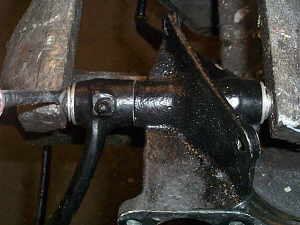 |
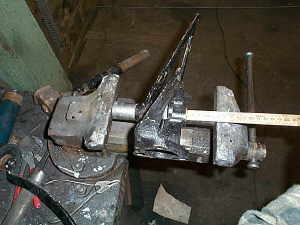
To be able to mount the steel clip at the end I put it into the wise
like this. And then used an screwdriver to press the clip into the
slot in the steel rod. |
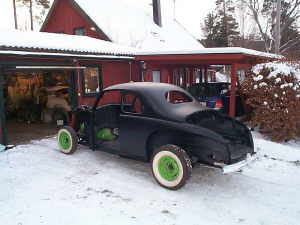
| Body mounted and rolled out for the first time. I have not put on any
bond and done any sanding. This is mostly since i hate to do that job,
and i want to drive it for some time before i put on any shiny paint. Since
i must do some more metal work fixing door gaps and so on. |
 |
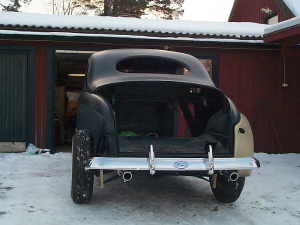 |
Looking good or what? now its only the boot lid and doors and fenders
to paint and mount...and so on................... |
Rear suspension...Original with With long shackles "Special "aircraft"
shock kit tube type this was an old after market kit that i found at a swap
meet.
Tires, Front/Rear... Firestone 5,60 by 15 8,20 by 15 Whitewalls.
Wheels.................. Volvo 810 15" rims They have the old Ford
bolt pattern.
